Hi Friends,
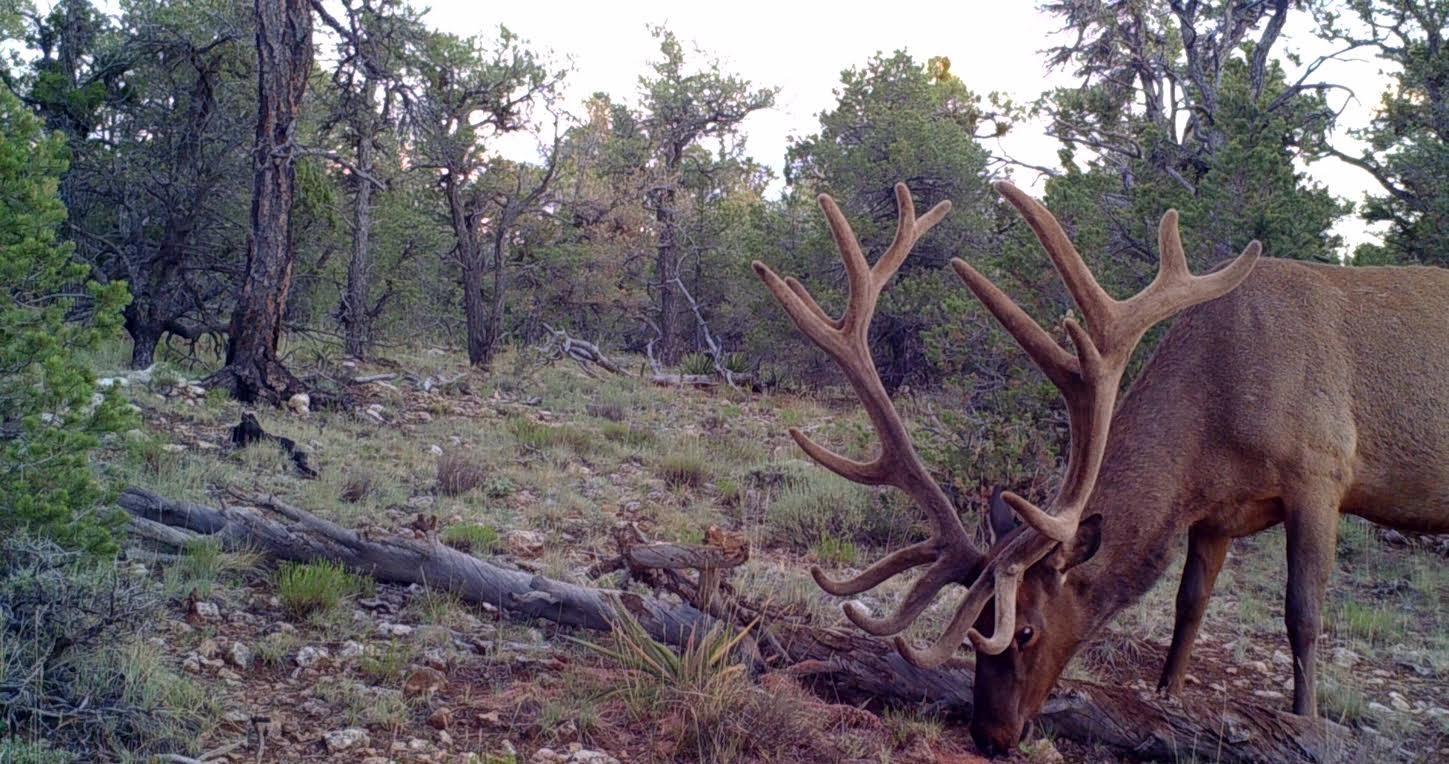
Today we’re discussing a few simple best-practices when it comes to setting up your trail camera and Critter Lick deer attractant. Our main goal is to help you capture breathtaking photos like this one!
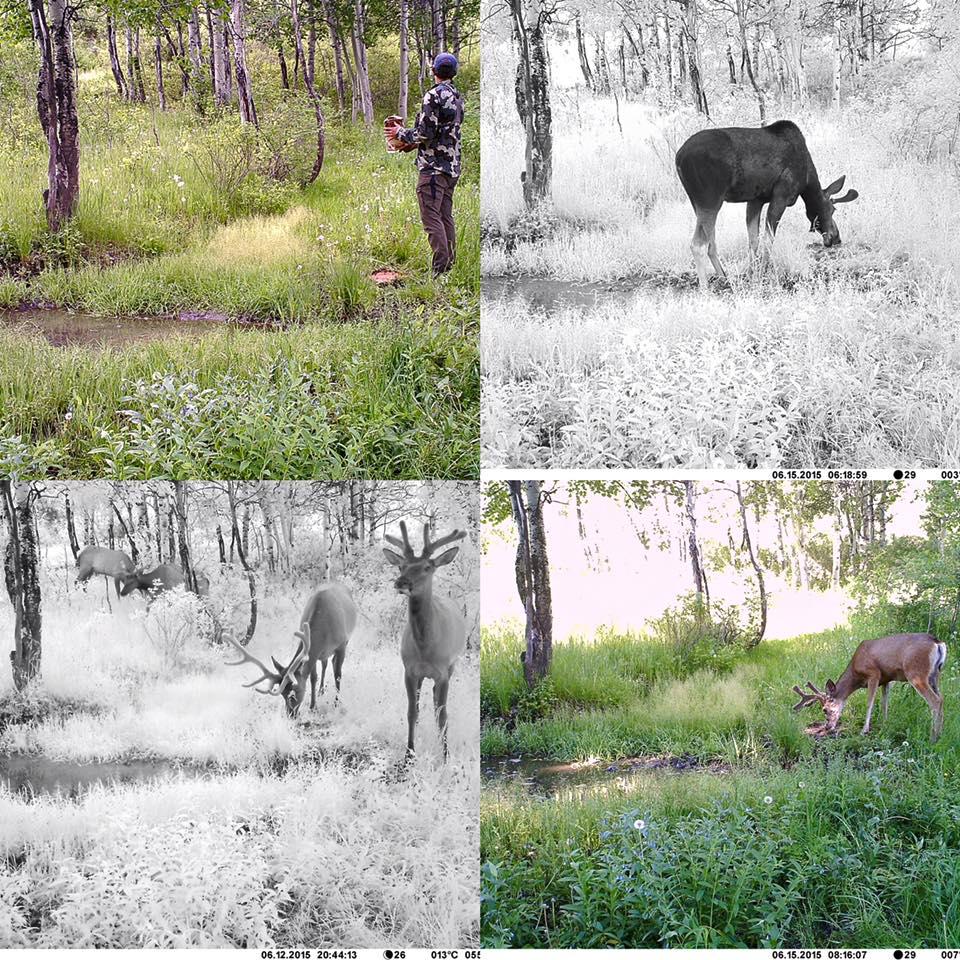
First, it’s crucial to select the right spot for setting up your camera. Make sure to choose an area that you can revisit year after year. The objective is to have a good enough location that you can see success there for years using Critter Lick. One of our best customers, High Point Outfitters, shared their experience using Critter Lick: “It is truly amazing how quick it can happen. We have sites that we have used the stuff for 3-4 years now and it is absolutely pounded.”
Here is an example of photos taken using the same trail camera over several seasons:
Next, apply your Critter Lick deer & big game attractant! Make sure to use one full 4lb. bag of Critter Lick on the first application to get an optimal amount of big game to the site.
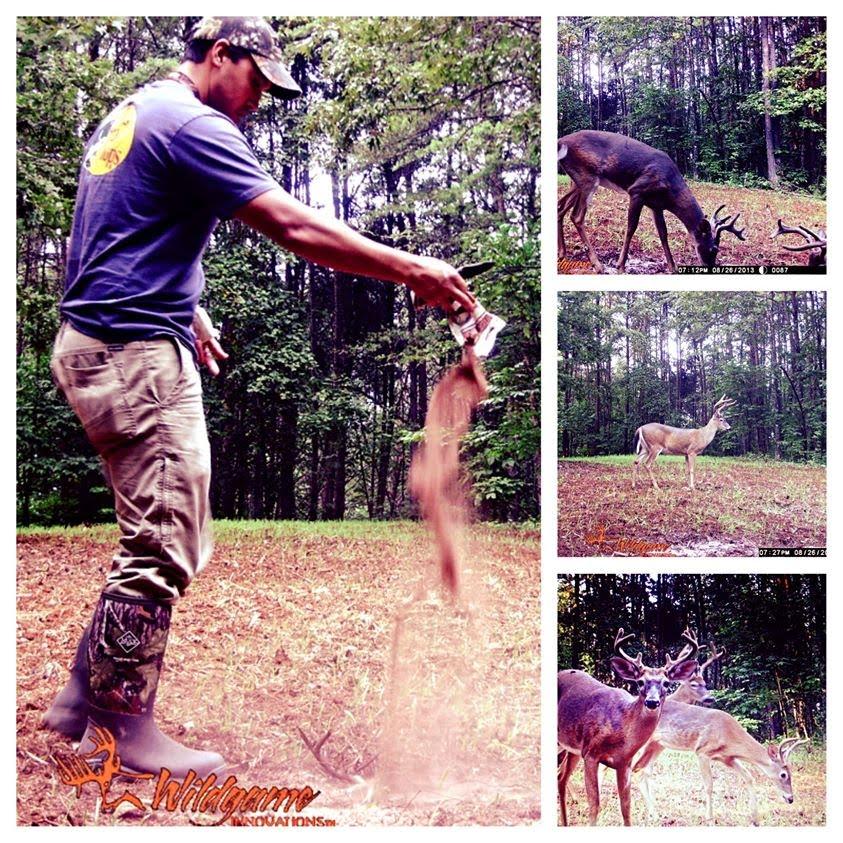
After the first application of Critter Lick, 2 pounds will be enough to keep the site refreshed for two weeks. From then on, apply Critter Lick about every 4 weeks.
After selecting the site and spreading out your Critter Lick, it’s time to mount your trail camera in the ideal position! For example, a sturdy tree with a clear view makes a great spot. Be sure to choose a place where your trail camera will be undisturbed and produce clear pictures without too much sun, as this can wash out your photos.
Now sit back and enjoy your incredible trail photos captured using Critter Lick, the Ultimate Game & Deer Attractant!
Here is a short video of how our friends over at Muley Tines enjoy Critter Lick: